But don't worry! You're in luck. I had to make another batch today for my students in my Methods I field placement for Valentine's Day, so I decided to chronicle the process for all those people who ask me how cakepops are made!
Here we gooo!! :)

First I started out by making a regular box mix cake. For this batch, I decided to use Funfetti cake mix and chocolate frosting.

Mixing it up! I got this Chefmate Handmixer at Target for $6-7 and it works pretty good!

Beautiful!

Bakerella recommends 9x12, but I find that any pan is fine. I used 2 8inch circle pans.

Five minutes in to their baking :)

Out of the oven! Since they will get crumbled down, I cut slats in them to make them cool faster. You don't have to really worry about presentation with these.

Big pile of cake... now that's what I like to see!

Then I get ready to make the Cake Pops' dough. I use this big red bowl, cake, a big spoon, and frosting.

The cake gets crumbled down until there are no big chunks left in it.. this part is really fun.

Then I add about 3/4 of a can of frosting.

Isn't it gorgeous?!

Then you start to mix it together. This is what it looks like half way through.

In order to make even balls, I use a cookie scoop to get the right amount of dough.

I put wax paper on a cookie sheet and line as many balls as will fit.

This batch yielded 40 cake balls! Much better yield than cupcakes, I must say.

Up close. Their color is stunning!

See how there are no overly large chunks? You want the surface to be smooth.

Now the tricky part.. the chocolate! I use Wilton Candy Melts as my candy coating, but you can use any brand. However, it is very important to use chocolate specially designed for this type of melting craft, since the others will not yield the same results.. trust me, I've been there.

In order to make the cake pops, dip one end of the lollipop stick into the chocolate.

Insert that end into the cake ball.

The transformation from balls to pops!

All done!

I just love them. <3

You can either put them in the fridge for a few hours, or the freezer for a few minutes. Me and my impatient butt usually pick the freezer. :)

These next three have nothing to do with cake pops, but I was bored while waiting for them to be able to come out of the freezer!

Our Wellness LLC fishy!

Still bored........

Okay, finally! Make sure your chocolate is still smooth, and remove your cake pops from the fridge. You'll want to have come Styrofoam available for this part.

Put the cakepop head first into the chocolate. Use a spoon to make sure all the sides are covered, but be careful not to nick the cakepop so that no crumbs come off into the chocolate candy coating.

Lift the cake pop out of the chocolate, and tap your wrist to allow any excess chocolate to drip off back into the bowl.

See?

I used both Milk Chocolate and White Chocolate this time.

Almost done!

Here they are again!
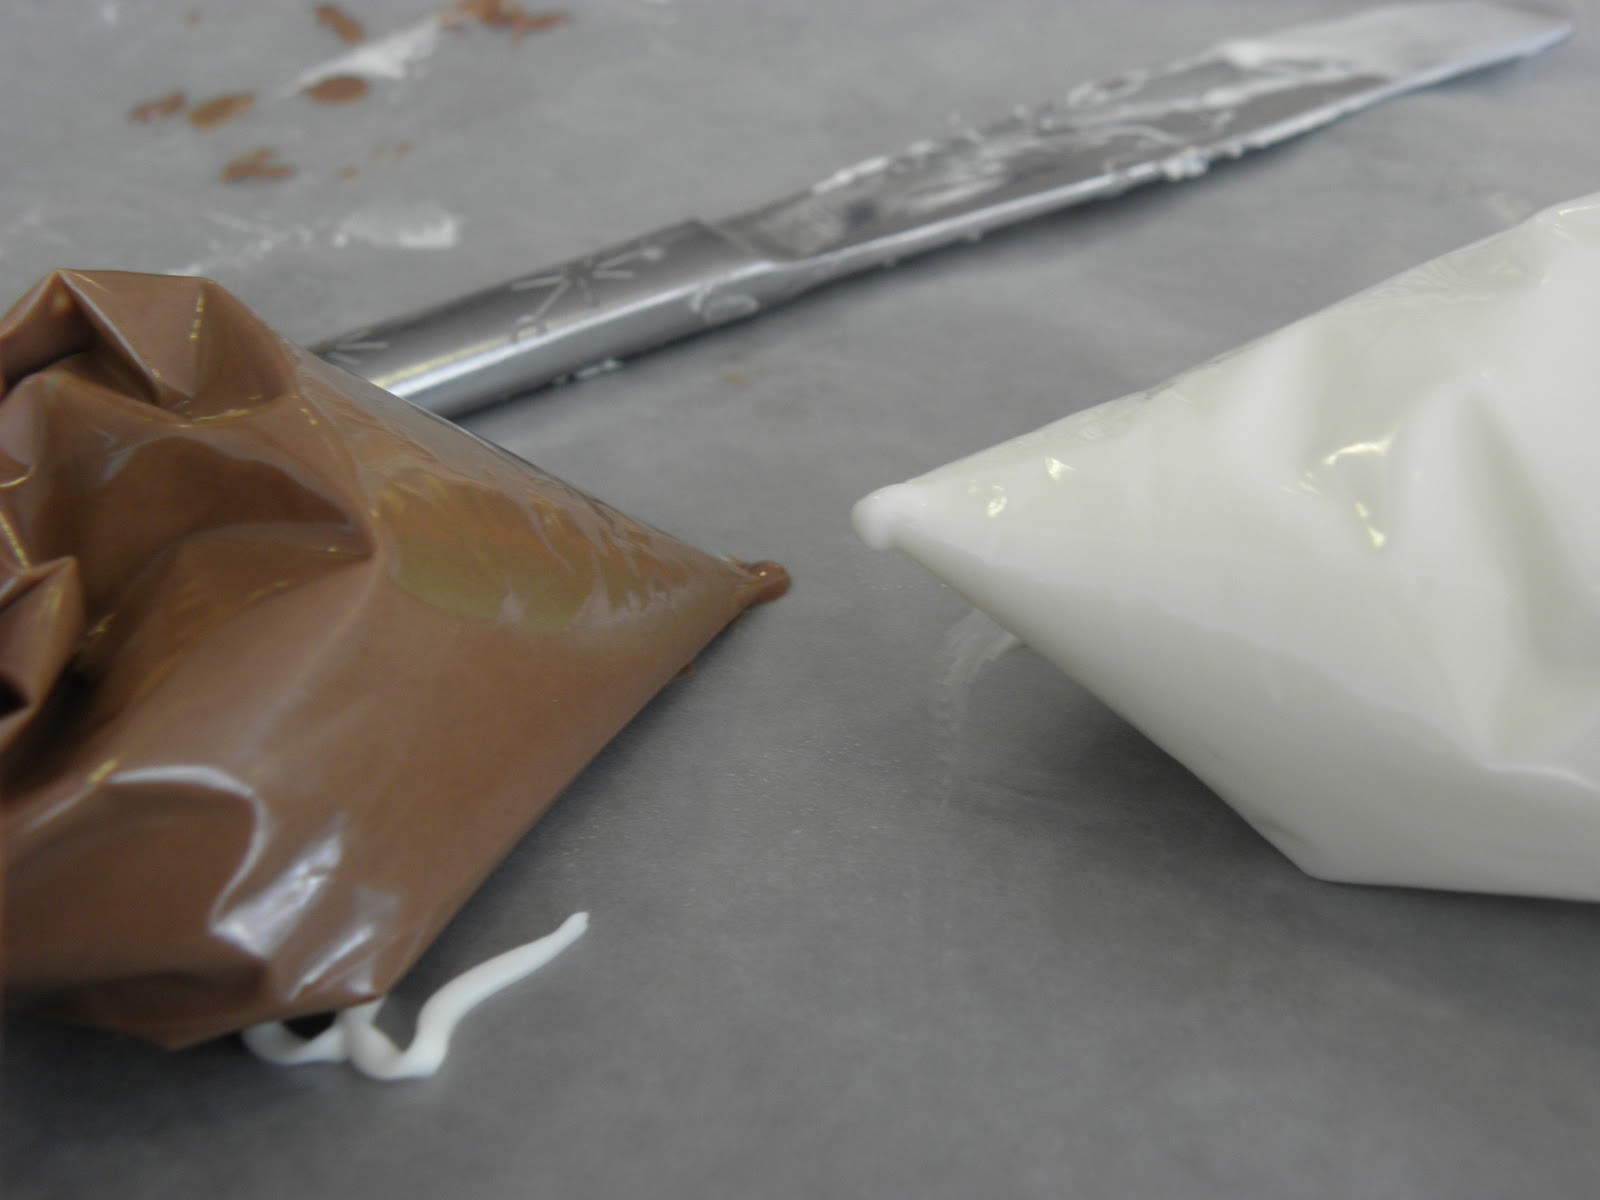
Set aside some extra chocolate melts and put into strong Ziploc bags. I use freezer bags as disposable piping bags, and they can go in the microwave too! It saves a lot of time and you don't have to wash anything after!

Use your piping bags to drizzle the cakepops for a professional looking finishing touch.

Gorgeous.

Yum yum yum!

YUM!

Use treat bags to cover each cake pop.

Tie the cake pops closed with festive ribbon.

All done! Aren't they lovely!

Yayy!

Carefully place into Ziploc bags head first for transport!
I hope you enjoyed this journey through cake pop making! Before attempting Cake Pops, make sure you have plenty of time to devote to this project! It took me four hours to make one batch!! Remember patience is a virtue, but if you have it, you'll get cake pops :)
bakerybakerybakerybakerybakery
ReplyDeletealso, let's co-author a cookbook! I'll do the base cake/cookie recipes, you'll do the assembly/decorating instructions and photography!
ReplyDeletecan we please???
ReplyDeleteyummmmmy ...we should find a half box of cake mix this weekend and make a small batch of these!
ReplyDelete